
How to Use Probe on Ninja Smart Cook System: Master Tips!
The Ninja Smart Cook System is a versatile kitchen tool. It helps you prepare meals with precision and ease.
Using the probe feature can enhance your cooking experience significantly. This tool allows you to monitor the temperature of your food in real-time. Proper temperature control leads to perfectly cooked meals, whether you’re roasting, baking, or grilling. Understanding how to use the probe effectively can make a big difference.
It helps you avoid overcooking or undercooking your dishes. In this guide, you’ll learn the steps to use the probe on your Ninja Smart Cook System. By following these simple instructions, you will enjoy perfectly cooked meals every time. Get ready to take your cooking skills to the next level!
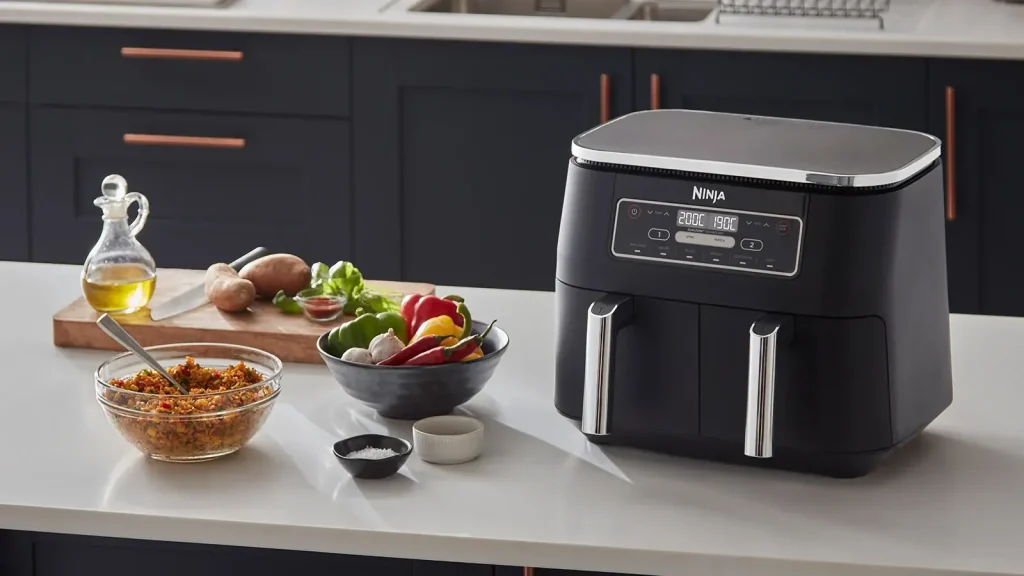
Introduction To Ninja Smart Cook System
Welcome to the world of the Ninja Smart Cook System! If you’ve ever found yourself wrestling with dinner plans or second-guessing if your meat is done, this gadget is here to save the day. The Ninja Smart Cook System is not just an ordinary cooking appliance; it’s a smart assistant that helps you create delicious meals with ease. Whether you’re a novice in the kitchen or a seasoned chef, this system makes cooking simpler and more enjoyable.
Features That Set It Apart
What makes the Ninja Smart Cook System a standout choice among cooking appliances? Let’s explore some of its key features:
- Smart Cooking Technology: This system uses advanced technology to monitor the cooking process. No more guesswork!
- Versatile Cooking Options: From steaming to baking, this appliance can do it all. You can grill, air fry, roast, and even slow cook your favorite dishes.
- Built-in Probe: The smart probe ensures your food is cooked to perfection. It provides accurate temperature readings, so you know exactly when your meal is ready.
- User-Friendly Interface: The control panel is intuitive, with clear buttons and an easy-to-read display, making it accessible for everyone.
These features combine to provide a cooking experience that is not only efficient but also enjoyable. You can spend less time worrying about whether your food is cooked right and more time enjoying your meal!
Why Use A Probe?
You might be wondering, why should I bother with a probe? Well, let me tell you – using a probe is like having a trusty sous chef by your side. Here are a few reasons to embrace this handy tool:
- Perfect Doneness: The probe takes the guesswork out of cooking. You can achieve that juicy steak or perfectly cooked chicken every time.
- Time-Saving: No need to keep checking your food constantly. The probe does the monitoring for you, allowing you to relax or prepare other dishes.
- Consistent Results: With the probe, you’ll notice that your meals are more consistent. No more overcooked or undercooked disasters!
In my own experience, using the probe has transformed my cooking. I remember the first time I used it for a roast. I set it, walked away, and came back to the most succulent meat I had ever made. It felt like magic!
So, if you want to elevate your cooking game, using the probe on the Ninja Smart Cook System is a game-changer. It’s all about making life easier and tastier!
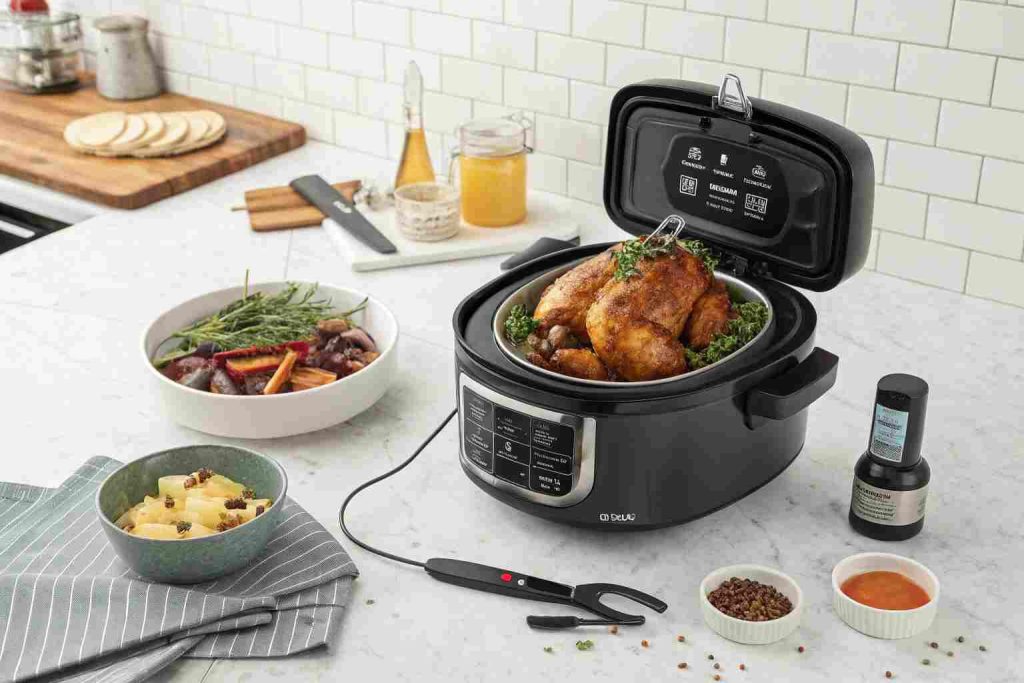
Unboxing Your Ninja Smart Cook System
Unboxing a new kitchen gadget is always an exciting moment, isn’t it? The anticipation builds as you peel away the packaging, revealing all the shiny parts that promise to transform your cooking experience. The Ninja Smart Cook System is no exception. It’s designed to make cooking easier and more enjoyable, even for those of us who aren’t culinary wizards. So, what can you expect when you first crack open that box? Let’s dive in!
What’s In The Box?
When you finally open the Ninja Smart Cook System, you will find a delightful array of items. Here’s a quick rundown:
- Ninja Smart Cook System Unit: The star of the show! This sleek device is packed with features to help you cook like a pro.
- Probe: This handy tool helps you monitor the temperature of your food, ensuring perfectly cooked meals every time.
- Cooking Pot: A spacious pot that distributes heat evenly.
- Steamer Rack: For those who love steaming veggies to perfection.
- Recipe Book: A collection of delicious recipes to get you started.
- User Manual: Don’t forget this little guide! It’s essential for understanding all the features.
First Impressions
As you take everything out of the box, you might feel a bit like a kid on Christmas morning. The Ninja Smart Cook System feels solid and well-made. Its sleek design gives off a modern vibe that will look great on any countertop. But wait! Is that a probe I see? Yes, it is! This little gadget is a game-changer. Ever burned a roast because you couldn’t tell if it was done? I certainly have! With the probe, you won’t have to play the guessing game anymore.
Now, let’s talk about the user manual. I know, I know—manuals can be boring, but this one is straightforward and easy to read. It’s almost like having a friend guide you through the setup. Plus, the recipe book is filled with easy-to-follow instructions. You’ll find yourself whipping up tasty meals in no time!
In summary, unboxing your Ninja Smart Cook System is not just about the items you find inside, but about the potential they hold. With the right tools at your fingertips, who knows what delicious dishes you’ll create? So, grab your probe and get ready to cook up a storm!
Setting Up For The First Time
Setting up the Ninja Smart Cook System can be easy and fun. Follow these steps to get started. Start cooking delicious meals with confidence.
Assembly Tips
Before you begin, gather all parts. Check the user manual for a list. Lay out the parts on a clean surface. This will help you see everything clearly.
Next, connect the cooking pot to the base. Align the pot with the notches. Gently twist it to lock in place. Make sure it fits snugly.
Attach the lid by aligning it with the pot. Press down until you hear a click. This ensures the lid is secure. Check the steam release valve too. Ensure it is in the correct position.
Initial Setup Steps
Now, plug in the Ninja Smart Cook System. Press the power button to turn it on. The display will light up. Follow the prompts on the screen.
Select your preferred language. This makes it easier to use. Set the time and date. This is important for cooking accuracy.
Run a test cycle to check the system. Fill the pot with water. Choose a cooking function and start it. This helps to ensure everything works well.
Once the test is complete, clean the pot. Wipe down the exterior. Your Ninja Smart Cook System is now ready to use.
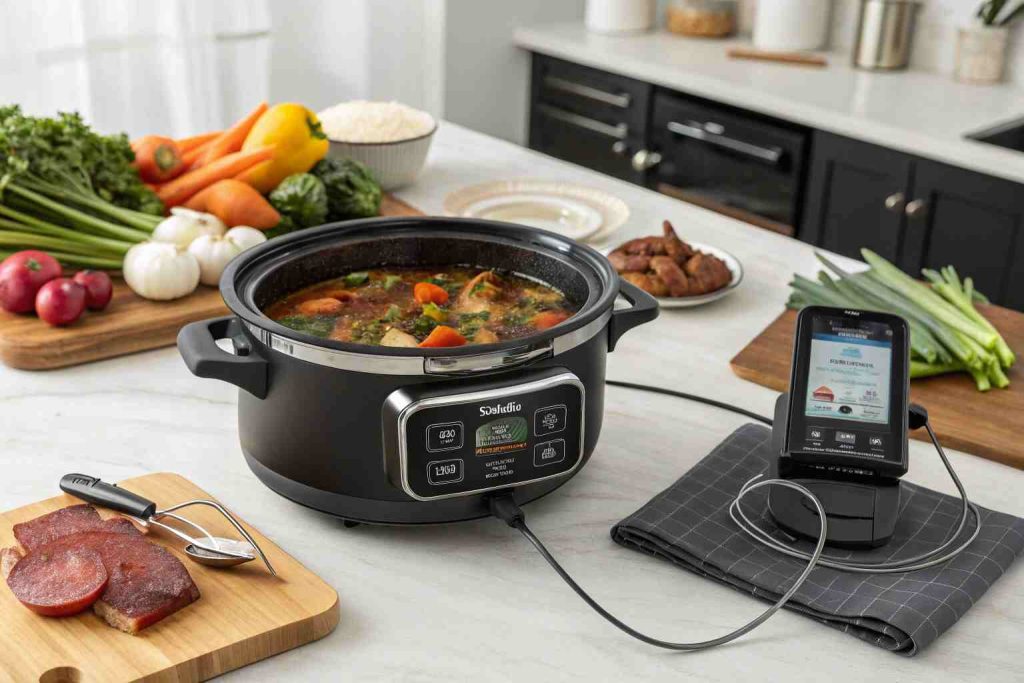
Understanding The Probe
If you’ve just got your hands on the Ninja Smart Cook System, you might be wondering how to make the most of this brilliant tool. One standout feature is the probe. But what is it exactly? Think of the probe as your cooking buddy. It helps you keep an eye on the temperature of your food, ensuring that everything is cooked just right. No more guesswork! So, let’s dive deeper and understand how this nifty tool works.
Design And Functionality
The design of the probe is simple yet effective. It’s a sleek, stainless-steel instrument that plugs right into the Ninja Smart Cook System. Here’s what you need to know about its functionality:
- Temperature Monitoring: The probe measures the internal temperature of your food. This means you can achieve perfect results every time.
- Easy to Use: Just insert the probe into the thickest part of your meat or dish and set your desired temperature.
- Compatibility: It works seamlessly with various cooking modes—roasting, baking, and more!
Isn’t it great that you can just set it and forget it? Well, almost. You still need to keep an eye on your cooking progress, but the probe does take away a lot of the stress.
Benefits Of Using The Probe
Why should you incorporate the probe into your cooking routine? Here are some benefits that stand out:
- Precision: Get accurate readings for perfect meals. No more cutting into your roast just to check if it’s done.
- Convenience: The probe lets you multitask. While it monitors the temperature, you can enjoy a glass of wine or catch up on your favorite show.
- Consistency: Every time you use it, you can expect the same delicious results. Your friends will think you’re a professional chef!
In my experience, using the probe has saved me from many kitchen disasters. I remember the first time I made a roast. I was so nervous! But with the probe in place, I could relax and enjoy my evening. And guess what? The roast turned out perfectly juicy. It’s like having a little cooking superhero on your side!
So, whether you’re a novice cook or a seasoned pro, understanding how to use the probe can elevate your culinary game. Why not give it a try? You might just find yourself cooking with more confidence and flair!
Step-by-step: Guide To Using The Probe
The Ninja Smart Cook System makes cooking easier. Using the probe helps you cook food perfectly. Follow these simple steps to use the probe correctly.
Inserting The Probe
Start by preparing your food. Make sure it is ready to cook. Take the probe from the Ninja Smart Cook System.
Insert the probe into the thickest part of the food. Avoid touching bones or fat. This helps get an accurate reading.
Ensure the probe is secure. It should fit snugly in the food. This prevents it from moving during cooking.
Setting The Temperature
Now, it’s time to set your desired temperature. Press the temperature button on the Smart Cook System. Use the display to choose your target temperature.
Make sure to select the right temperature for your food. Different meats and dishes have different safe cooking temperatures.
Once you set the temperature, the system will start cooking. The probe will monitor the internal temperature. You will know when your food is ready.
Credit: ninjakitchen.co.uk
Cooking With Precision
Cooking with precision can feel like a culinary superpower. Imagine serving a perfectly cooked steak that’s juicy and tender, not a single overcooked edge in sight. With the Ninja Smart Cook System, you can achieve that kind of perfection every time. One of the best features that help you along your cooking journey is the probe. This handy tool takes the guesswork out of cooking, ensuring your food is cooked just right. Let’s dive into how you can make the most of this feature.
Selecting The Right Program
The first step to cooking with precision is selecting the correct program on your Ninja Smart Cook System. Here’s how to do it:
- Know Your Ingredients: Before you even turn on the machine, take a moment to consider what you are cooking. Different foods require different cooking times and temperatures.
- Choose the Right Program: The Ninja Smart Cook System has various programs tailored for meats, poultry, fish, and even veggies. For example:
| Food Type | Recommended Program |
|---|---|
| Beef | Meat Program |
| Chicken | Poultry Program |
| Fish | Seafood Program |
| Vegetables | Steam Program |
Choosing the right program is key. It sets the foundation for your cooking journey. Have you ever tried to cook chicken in a beef program? Let’s just say it might not end well!
Monitoring Your Cook
Once you’ve selected your program, it’s time to monitor your cook. This is where the probe shines! Here are some tips to keep in mind:
- Insert the Probe Correctly: Make sure to insert the probe into the thickest part of the meat. This ensures accurate readings.
- Keep an Eye on the Temperature: The Ninja Smart Cook System displays the temperature on the screen. You can easily check if your food is nearing the target temperature.
- Stay Alert for Alerts: The system will beep when your food is ready. Don’t ignore it; it’s like a friend saying, “Hey, dinner’s ready!”
Monitoring your cook is crucial, especially if you want to avoid surprises. No one wants to serve a dinner that looks great but tastes like shoe leather, right? Trust me, I learned that the hard way!
In conclusion, cooking with precision using the probe on the Ninja Smart Cook System is not just about technology; it’s about enhancing your cooking experience. So, embrace the process, enjoy the journey, and make every meal a masterpiece!
Cleaning And Maintenance
Keeping your Ninja Smart Cook System clean is important. Regular cleaning helps it last longer. It also ensures safe cooking. Let’s look at how to clean the probe and maintain the system.
Cleaning The Probe
The probe is a key part of your cooking system. It needs careful cleaning. Start by unplugging the device. This keeps you safe while you clean.
Wipe the probe with a damp cloth. Use warm, soapy water. Avoid harsh chemicals. They can damage the probe. Rinse it well with clean water.
Make sure the probe is dry before using it again. Store it in a safe place. Protect it from sharp objects. This keeps it from getting damaged.
Maintaining Your Ninja Smart Cook System
Maintenance helps your Ninja system work well. Keep the outside clean. Wipe it down after each use. Use a soft cloth to avoid scratches.
Check for any loose parts. Tighten them if needed. Inspect the plug and cord for wear. Replace them if they are damaged.
Follow the user manual for any special care. This ensures your system stays in top shape. Regular maintenance keeps cooking easy and enjoyable.
Credit: ninjakitchen.co.uk
Advanced Tips And Tricks
Using the Probe feature on the Ninja Smart Cook System can seem tricky at first, but with a few advanced tips and tricks, you’ll be cooking like a pro in no time! This section is designed to help you elevate your cooking game and ensure that your meals are always delicious and perfectly cooked. Let’s dive into how you can achieve perfect results and troubleshoot common issues!
Achieving Perfect Results
Getting the most out of your Ninja Smart Cook System is all about understanding how to use the Probe effectively. Here are some tips that can help:
- Choose the Right Cut of Meat: Not all meats are created equal. For best results, use cuts that are consistent in thickness. This ensures even cooking.
- Insert the Probe Correctly: Make sure to insert the probe into the thickest part of the meat, avoiding bones and fat. This helps you get the most accurate temperature reading.
- Preheat Your Unit: Preheating the Ninja Smart Cook System can help you reach your desired temperature faster, leading to juicier meats.
- Use the Built-in Timers: Don’t forget to take advantage of the timers on your system. They are your best friend when it comes to tracking cooking times.
And remember, patience is key. Sometimes waiting just a few extra minutes can make all the difference. After all, good things come to those who wait, right?
Troubleshooting Common Issues
Even the best cooks run into problems from time to time. If you’re having trouble with the Probe feature, here are some common issues and how to fix them:
- Temperature Readings are Inconsistent:
- Ensure the probe is inserted properly and not touching bone.
- Check that your unit is calibrated correctly.
- Meat is Overcooked:
- Double-check the cooking time and temperature settings.
- Consider using a lower temperature and cooking for a longer time.
- Probe Not Reading Temperature:
- Make sure the probe is securely connected to the unit.
- Inspect the probe for any visible damage; replace if necessary.
Always remember, practice makes perfect! The more you use the Probe, the more comfortable you will become with it. So, don’t be discouraged if things don’t go perfectly the first time around. Happy cooking!
Frequently Asked Questions
How Do You Use The Probe On The Ninja Foodi?
To use the probe on the Ninja Foodi, insert it into the thickest part of the food. Connect the probe to the Foodi. Select the desired temperature setting. The display will alert you when the food reaches the set temperature.
Always ensure the probe is clean before use.
How To Use A Probe On An Air Fryer?
Insert the probe into the thickest part of the food. Set your air fryer to the desired temperature. Monitor the probe’s temperature reading as the food cooks. Remove the food once it reaches the recommended internal temperature for safety. Always clean the probe after use.
How To Unwind A Ninja Probe?
To unwind a Ninja probe, first unplug the device. Carefully rotate the probe counterclockwise until it releases. Clean any residue from the threads before reattaching. Always consult the user manual for specific instructions related to your model. Proper handling ensures longevity and performance of your Ninja probe.
Where Do You Put The Ninja Probe In Chicken?
Insert the ninja probe into the thickest part of the chicken to ensure accurate temperature reading.
Conclusion
Using the probe with your Ninja Smart Cook System is simple. It helps you cook food perfectly every time. Follow the steps outlined in this guide. Check the temperature regularly for best results. Experiment with different recipes to find your favorites.
Enjoy the process and share your meals with others. Cooking can be fun and rewarding. With practice, you will gain confidence. Happy cooking!